ASPINA / robotic gripper - To grasp everything
This section describes the settings in the universal robot operation software called URCaps. Part 1 is about the introduction and initial setting of URCaps. Part 2 is tool I / O. Part 3 is the explanation about communication control.
Select "RS485 on or off″ from communication tab and "Tool I/O on or off "from Tool I/O tab on the Teach Pendant.
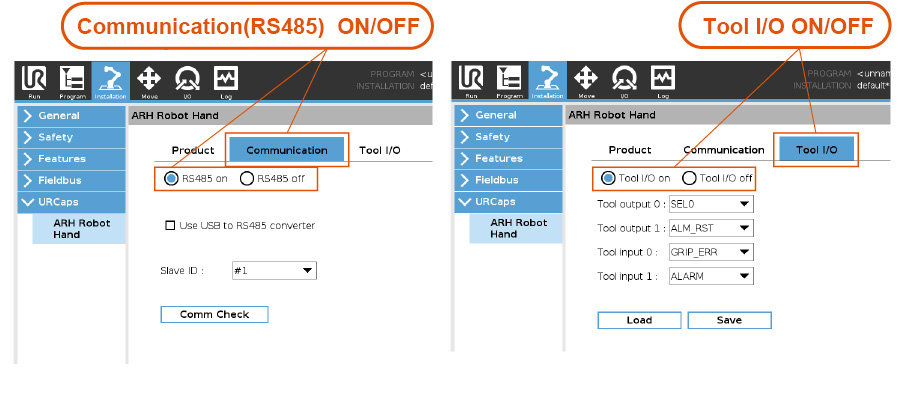
Tap a command from the URCaps menu.
Select Communication or Tool I/O.
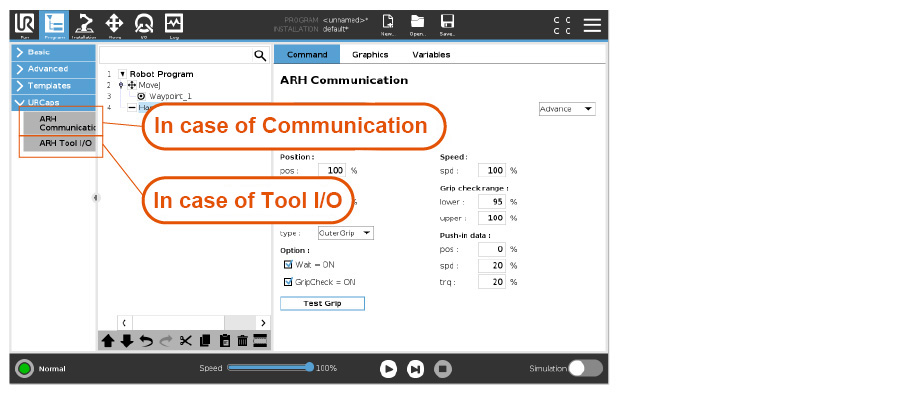
Tap the command tab to adjust the operation of the robotic gripper
The robot gripper operates by digital output from the robot.
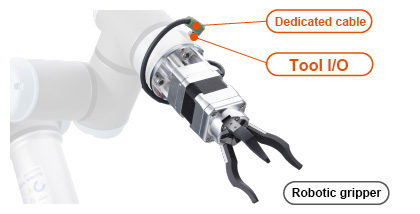
Connecting to a robot in Tool I/O
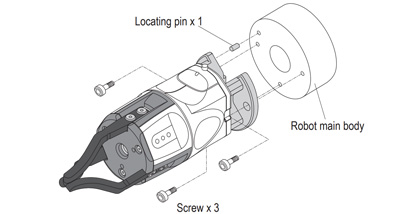
As shown in the figure, connect the robot Tool I/O and
the robotic gripper using a dedicated cable.
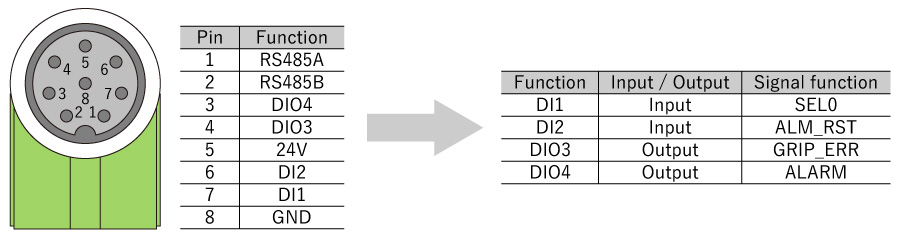
The pin assignments and functions of the dedicated cable are as follows. It also shows input / output signal assignments and signal functions of the robotic gripper. (Factory default)
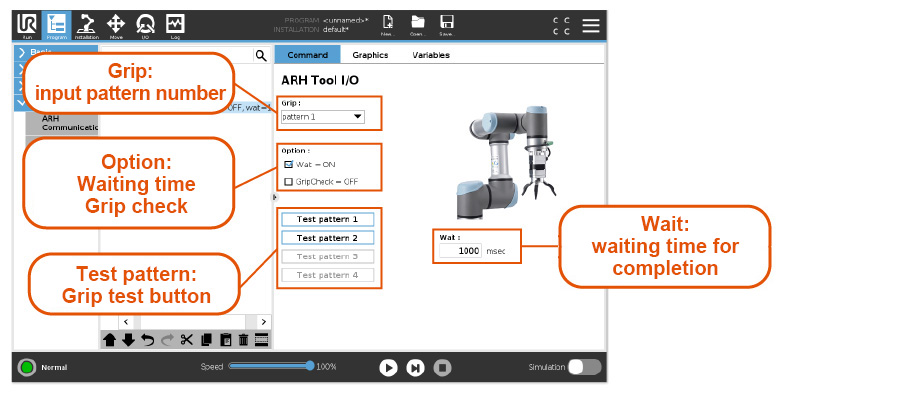
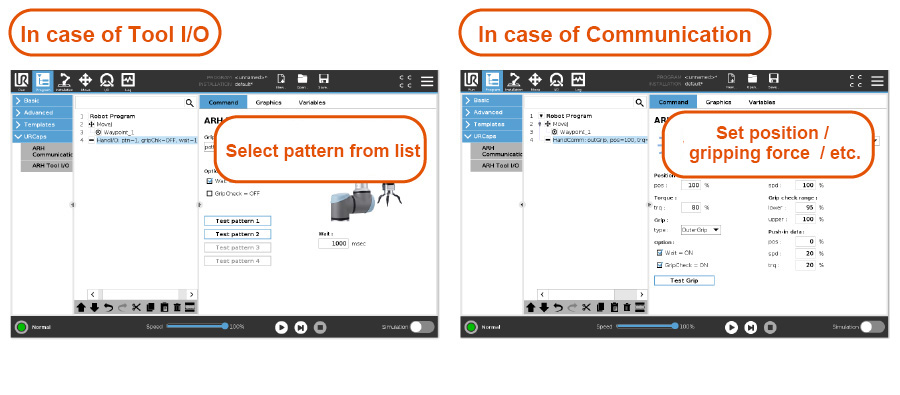
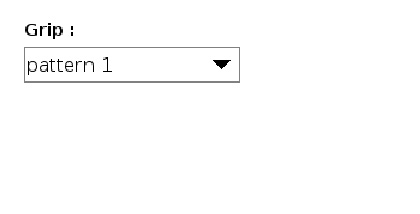
The user can operate the robotic gripper by selecting patterns 1 to 4. The pattern can be set with the dedicated app.
(* Patterns 0 to 3 on the dedicated app are assigned to patterns 1 to 4 on the ARH Tool I / O command.)
Waiting time setting
The User can adjust the waiting time during the robotic gripper operation by changing Wait value.Setting the wait value to 0, the user can move the robotic gripper and the robot together.
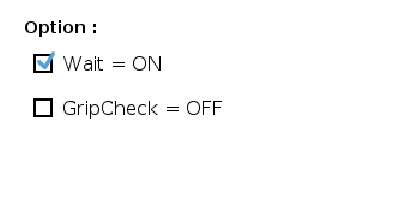
Grip check
The user can monitor the success / failure of the grip. If the grip fails, a popup will appear and the robot will stop.

In communication control, the user can set the finger position, gripping force, operating speed, etc. of the robotic gripper by communication. It is also possible to refer to the status by using a script.
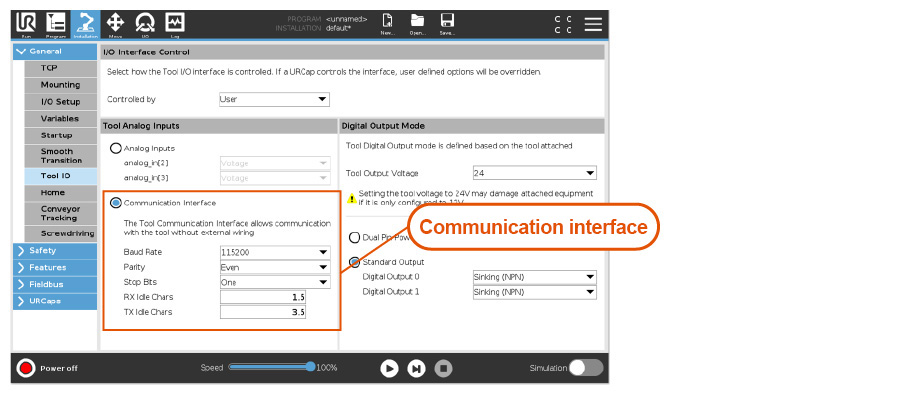
e-series connection
For e-series, set the analog inputs to the communication interface on the Tool Analog Inputs tab of Tool I/O
Communication interface
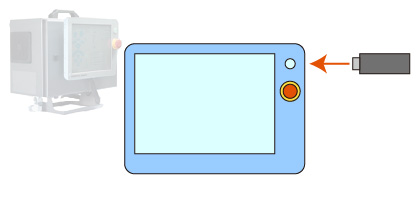
For the CB series, prepare a USB-RS485 converter (sold separately) and connect it to the USB port of the controller box. Check "Use USB to RS485 Converter" in the installation.
[Related page] Q. What kind of communication / control is possible?

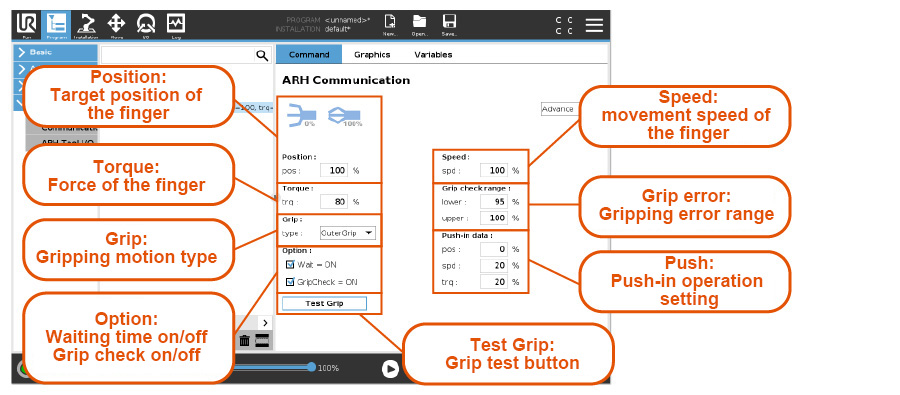
Position

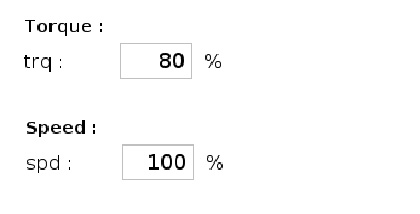
Torque and Speed